Want to bring a burst of colour and creativity into your day? With just some cardboard, an empty egg carton, and a few paints, you can create funky animal portraits that are full of personality. These portraits are fun to design, easy to make, and a playful way to let your imagination run wild – every one is a little masterpiece that will brighten up any space.
What You’ll Need
- Cardboard (for the backing board)
- Empty egg carton
- Scissors
- Pencil or pen
- Paints or colored markers
- PVA glue
- Black pen or fine-tip marker
Step-by-Step Guide
Step 1: Prepare your backing board
Start by cutting your cardboard into a square. This will be the base for your animal portrait, so choose a size that works for the animal you want to create.
Step 2: Cut out your animal
Take an empty egg carton and cut out the shape of your chosen animal. Keep the long part of the carton for features like a snout. You can choose any animal—mice, elephants, giraffes, or whatever inspires you!
Step 3: Draw your animal’s outfit
Using a pencil or pen, sketch funky clothes onto your animal cutout. Let your imagination run wild—this is your chance to create unique patterns and designs.
Step 4: Add colour to the clothes
Paint your animal’s clothes with bright, fun colors. You can also decorate the cardboard background at this stage. Bold, vibrant colors will really make your portrait pop.
Step 5: Paint the animal’s face
Next, add color to the animal’s head. Adjust features to match your animal choice: larger ears for elephants, smaller ears for giraffes, etc.
Step 6: Add details and texture
Once the paint is dry, use a black pen or fine-tip marker to draw eyes and add texture. This step brings your animal to life with realistic or playful expressions.
Step 7: Assemble your portrait
Apply PVA glue to the back of the animal head and gently attach it to the cardboard backing. Once it’s in place, you can outline the clothes and add shading to enhance the overall look.
Step 8: Optional – create a gallery
Experiment with different backgrounds and multiple animals on one board to create a mini gallery of your funky animal portraits.
Step 9: Display and enjoy
Once everything is dry, your portraits are ready to display! Hang them on a wall, gift them to friends, or keep them in your craft space as a colorful reminder of your creativity.
🎨 Tip: Don’t be afraid to mix patterns, textures, and colors. The more imaginative, the better!
Kerry Evitts
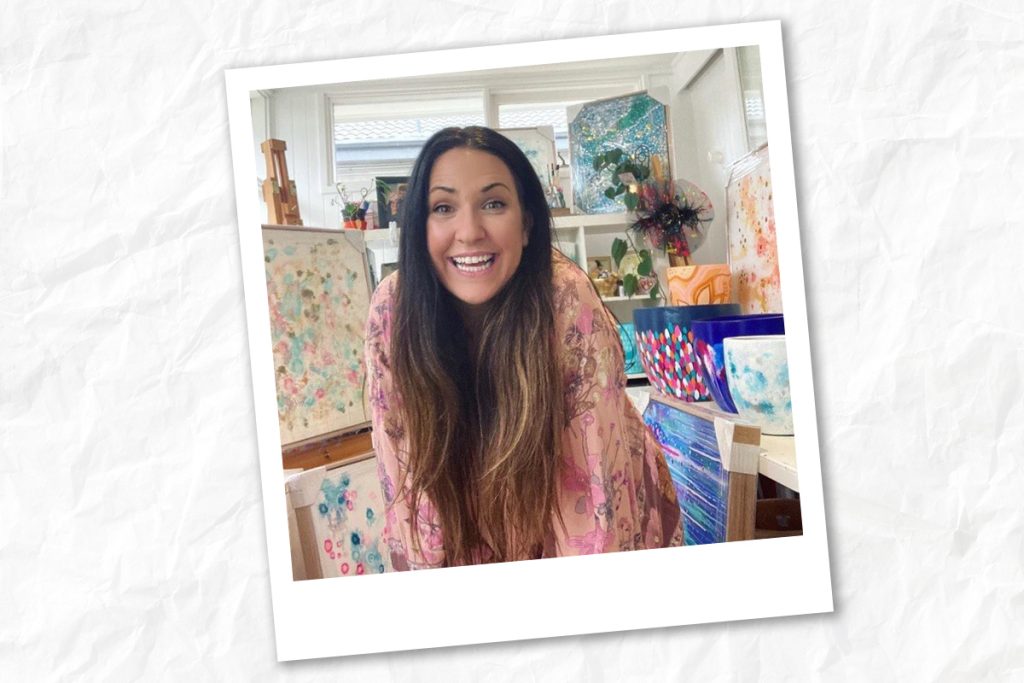
Kerry is one of our key partners undertaking the judging of our Big Art Comp! Kerry is a British-born, Melbourne-based painter, psychotherapist and mum of three. She has a vibrant art studio in Melbourne where you’ll find her running group art activities to being up on a ladder painting murals!